Lab 11: 7-Segment Displays
Although they are a little outdated today, 7-segment displays were widely used in electronics of the last 50 years because they are essentially the simplest way to display numbers to a human (without requiring them to read binary, which is technically more “efficient”). If you are creative you can draw all 16 hexadecimal digits on a 7-segment display, and even some words if you are okay with ambiguous characters, but to draw the full English alphabet without ambiguity you would need a 14-segment or 16-segment display.
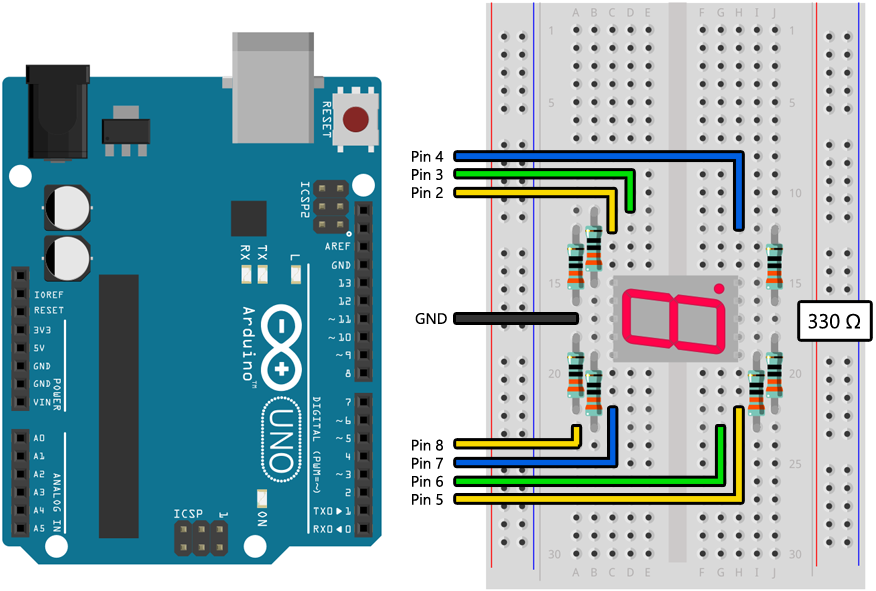
Similar to how the RGB LED actually contained three smaller LEDs (red, green, and blue), the 7-segment display contains eight LEDs: one for each segment of the digit, and one for a small dot that can be used as a decimal point. Just like with the RGB LED each internal LED needs its own resistor.
Example Program
Assemble the following circuit and upload the program to your Arduino:
void setup()
{
    // Configure pins 2-8 as outputs:
    for (int i = 2; i < 9; i++)
    {
        pinMode(i, OUTPUT);
    }
}

void loop()
{
    // Turn off all the segments at once:
    for (int i = 2; i < 9; i++)
    {
        digitalWrite(i, LOW);
    }
    delay(250);

    // Turn on the segments one at a time:
    for (int i = 2; i < 9; i++)
    {
        digitalWrite(i, HIGH);
        delay(250);
    }
}
You should see the segments of the display repeatedly turn on in order and then all turn off.
Assignment
Using a 7-segment display and two buttons, create a counter that counts between 0 and 9, incrementing when one button is pushed and decrementing when the other button is pushed. Although you will need to figure out how to implement it in code yourself, here is the common way that 7-segment displays are used to show the digits 0 through 9:

Consider creating a function that updates the display and takes seven int arguments that you can set to HIGH or LOW, one for each segment.
In the last lab you learned how to detect a state change (or “edge”) in an input signal, like a touch sensor going from released to pressed. If you try to do something like this with a mechanical button, you will need to deal with a phenomenon called contact bounce, which is where the mechanical transition from released to pressed involves a bunch of rapid oscillations between both states as the metal contacts press together, causing the signal to fluctuate.
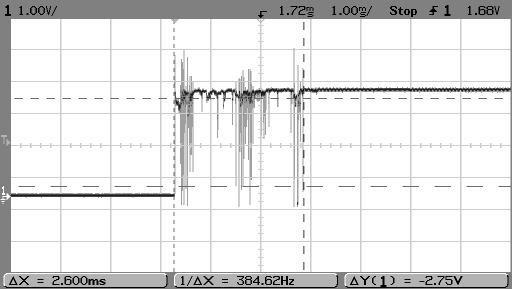
If you do not debounce your signal you will find that a single button press can easily trigger your state change detection code ten or more times. Adding a short delay (around 50 ms) after a state change is detected is usually enough to prevent this from being a problem.