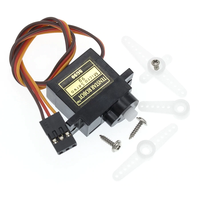
Electric motors convert electrical power into angular motion. Most motors spin continuously, like a cordless drill or the wheels on an electric vehicle, with a speed dependent on how much power is applied. Servo motors are a special type of motor that, instead of spinning continuously, rotate to a specific angular position based on an electrical signal. They are particularly useful in robotics, where they are used for range-limited movements like opening and closing a claw or steering a car.
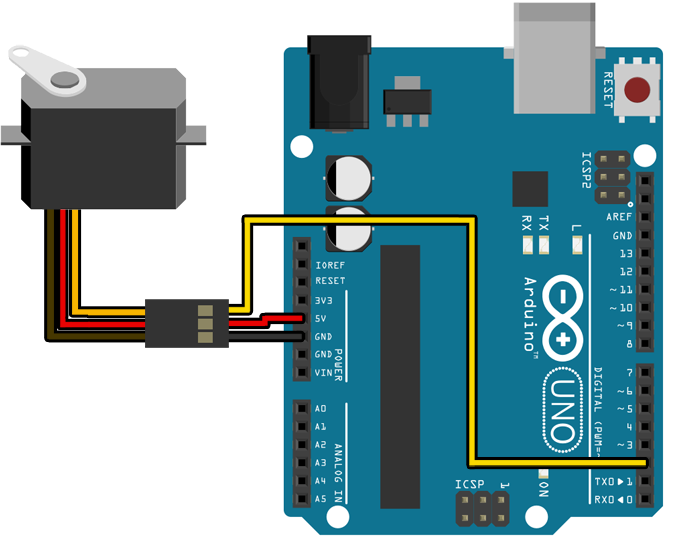
Assemble the following circuit and upload the program to your Arduino:
#include <Servo.h>
Servo myServo2;
void setup()
{
myServo2.attach(2);
}
void loop()
{
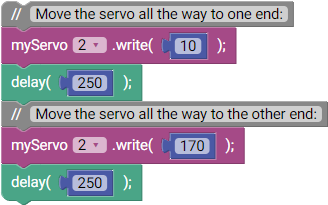
// Move the servo all the way to one end:
myServo2.write(10);
delay(1000);
// Move the servo all the way to the other end:
myServo2.write(170);
delay(1000);
}
You should see the servo moving back and forth over an arc of about 160 degrees, which happens to be its full range of motion. It can be helpful to attach one of the plastic accessories that came with the servo motor to better visualize its motion; just be sure to do this while it is not turned on and moving!
If you want to interface your Arduino with a servo motor the first thing you will need to do is add #include <Servo.h> to the top of your program like in the example above. This tells the C compiler to include the Servo library, which contains a bunch of code that you can use to control a servo motor without having to know the nitty-gritty details of how they work. One of the biggest advantages of using an Arduino is the huge number of libraries available for interfacing with other components.
Then, for each servo motor that you want to control, you must create a Servo object at the start of your program (like Servo myServo;) and call its attach() method in setup() with the pin that the servo is connected to (here, pin 2). The specifics of objects and methods are beyond the scope of this course, but know that objects are a lot like variables in that you have to declare them ahead of time and each one needs a unique name, like myServo in the example above.
Once we have declared and attached our Servo object we can call the write() method to set its position to an angle between 0 and 180, the full range of the servo. The motion of a servo is fast but not instantaneous, so if you want to wait until a servo reaches its destination you will need to call delay() after write(), like in our example above.
When a servo motor is powered but sitting idle it will use about 10 mA (milliamps) of current. When the motor is moving from one position to another the current use dramatically increases to something closer to 250 mA. If a force is applied to resist the motor’s movement it will stall and consume even more current, as high as 350 mA.
Why does this matter? Any device hooked up to a PC using a USB port (like your Arduino) is only allowed to use up to 500 mA of current. If it exceeds this limit it will be disconnected. Be mindful of this limit when powering servo motor circuits over USB.
The word automaton generally refers to a machine that operates under its own control, but it also refers to a type of mechanical puppet that moves on its own and performs "parlor tricks", like shooting an arrow or writing on paper. There was even a famous one called the Mechanical Turk that was able to play chess... but only because it hid a person inside.
This project requires you to build an automaton that looks and acts like something specific. In addition to the parts in your kit, you will need some craft supplies, like colored pencils or markers, cardstock, and tape. Be creative! Some examples include:
- a cartoon head that opens its mouth to sing (servo motor, piezo buzzer)
- a pair of arms that use flag semaphore to spell out a message (both servo motors)
- a video game character who jumps when you push a button (servo motor, buzzer, button)
If you decide to use a second servo motor you will need to create a second Servo object to control it. Also, take another look at the note about servo motor power usage above; you may run into strange glitches (like your Arduino unexpectedly restarting) when using both motors at once.