A switch is an electrical component that changes the path of electricity through a circuit as it is moved between different physical positions. The particular switch in your kit is known as a “single-pole, dual-throw” (SPDT) switch because it switches a single circuit between two terminals.

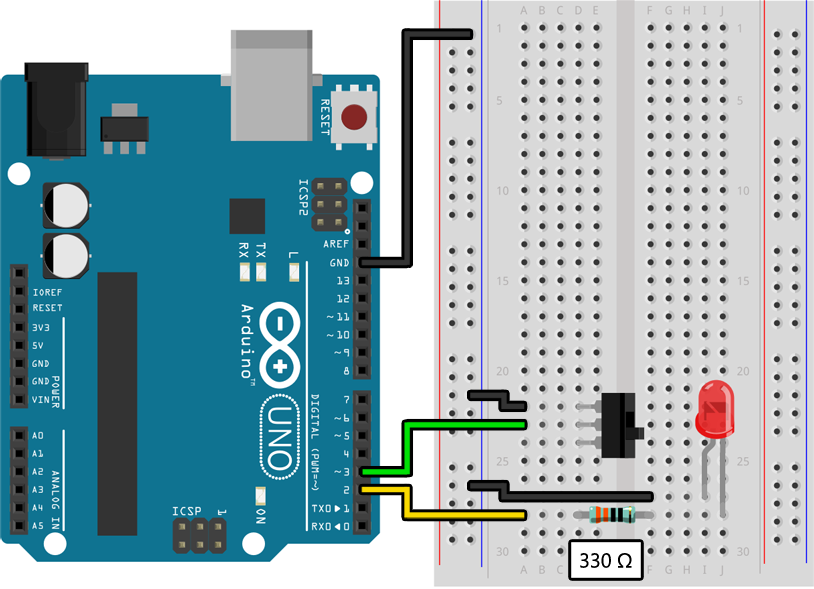
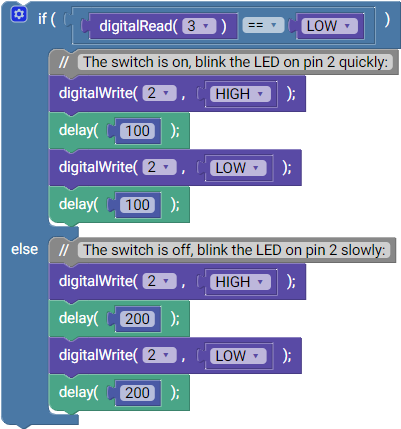
Assemble the following circuit and upload the program to your Arduino:
void setup()
{
    pinMode(2, OUTPUT);
    pinMode(3, INPUT_PULLUP);
}

void loop()
{
    if (digitalRead(3) == LOW)
    {
        // The switch is on, blink the LED on pin 2 quickly:
        digitalWrite(2, HIGH);
        delay(100);
        digitalWrite(2, LOW);
        delay(100);
    }
    else
    {
        // The switch is off, blink the LED on pin 2 slowly:
        digitalWrite(2, HIGH);
        delay(200);
        digitalWrite(2, LOW);
        delay(200);
    }
}
Your LED should be blinking at a rate determined by the position of the switch, with one position causing it to blink twice as fast as the other position.
Just like in the previous lesson we are using pinMode() to configure pin 2 as an output that can turn an LED on and off:

pinMode(2, OUTPUT);
We are also doing something new, however, and are hooking up a switch to pin 3 so that we can use it as an input. To do this we must set the pin mode to INPUT_PULLUP:

pinMode(3, INPUT_PULLUP);
To turn an output on and off we use digitalWrite() with the pin number and either HIGH (to turn it on) or LOW (to turn it off):

digitalWrite(2, HIGH);
digitalWrite(2, LOW);
Similarly, to read from an input, we use digitalRead() with the pin number and then test if it is equal to HIGH or LOW with an if/else statement:

if (digitalRead(3) == LOW)
{
    // Code here will run when the switch is ON.
}
else
{
    // Code here will run when the switch is OFF.
}
In addition to switches, your kit also contains buttons, which are only active when held:
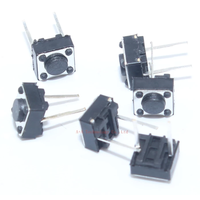
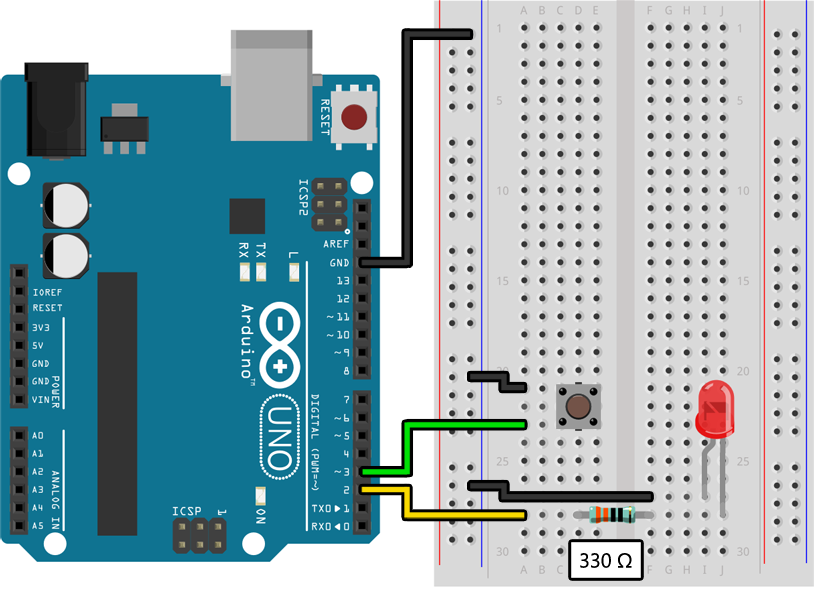
Buttons can be connected to the Arduino in exactly the same way as switches. Try replacing the switch in the above example with a button as shown here:
The if/else statement in the above example has one block of code that runs when the condition digitalRead(3) == LOW is true and another block of code that runs when it is not:
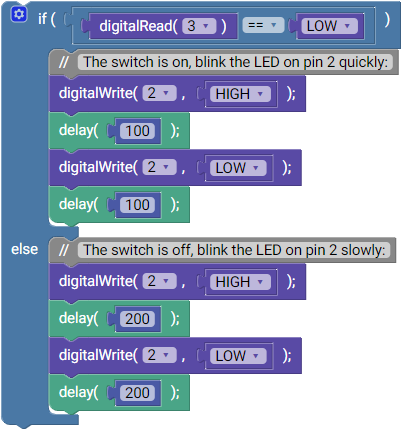
if (digitalRead(3) == LOW)
{
    // The switch is on, blink the LED on pin 2 quickly:
    digitalWrite(2, HIGH);
    delay(100);
    digitalWrite(2, LOW);
    delay(100);
}
else
{
    // The switch is off, blink the LED on pin 2 slowly:
    digitalWrite(2, HIGH);
    delay(200);
    digitalWrite(2, LOW);
    delay(200);
}
If we simplify this code to just the if/else statement it looks like this:

if (digitalRead(3) == LOW)
{
    // Code here will run when the switch is ON.
}
else
{
    // Code here will run when the switch is off.
}
If you don't care about when the condition is not true, however, you can omit the else block like this:

if (digitalRead(3) == LOW)
{
    // Code here will run when the switch is ON.
}
If you had multiple switches, like an additional switch connected to pin 4, you could also build a more complex if/else statement like this:
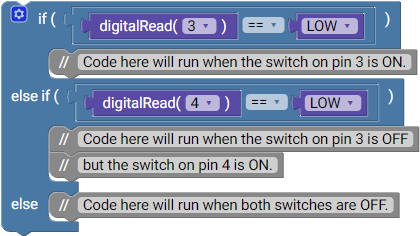
if (digitalRead(3) == LOW)
{
    // Code here will run when the switch on pin 3 is ON.
}
else if (digitalRead(4) == LOW)
{
    // Code here will run when the switch on pin 3 is OFF
    // but the switch on pin 4 is ON.
}
else
{
    // Code here will run when neither switch is ON.
}
You can also "nest" if/else statements like this:
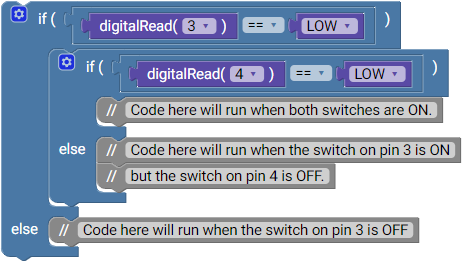
if (digitalRead(3) == LOW)
{
    if (digitalRead(4) == LOW)
    {
        // Code here will run when both switches are ON.
    }
    else
    {
        // Code here will run when the switch on pin 3 is ON
        // but the switch on pin 4 is OFF.
    }
}
else
{
    // Code here will run when the switch on pin 3 is off.
}
You can also combine tests together using the && (AND) and || (OR) symbols:
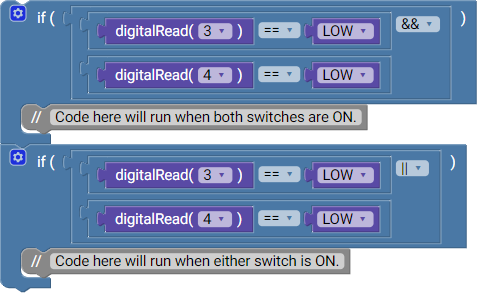
if (digitalRead(3) == LOW && digitalRead(4) == LOW)
{
    // Code here will run when both switches are ON.
}

if (digitalRead(3) == LOW || digitalRead(4) == LOW)
{
    // Code here will run when either switch is ON.
}
There are many, many possible ways to combine these to make complex tests. Try experimenting with some of them in the project at the end of this lesson.
Create an interactive animation using at least three LEDs, one switch, and one button. The animation should change in a meaningful way when the switches and buttons are switched and/or pressed. For example, you could create a circle of five LEDs that light up in sequence, reverse direction when a switch is flipped, and go much faster when a button is held.
Additional LEDs, switches, and buttons are all available to help you build something creative!