Diodes are a type of semiconductor that only allow current to flow in one direction. They are useful, but not to us, and are not included in your kit.
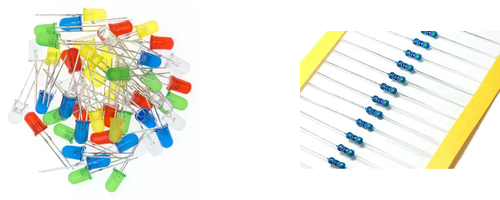
Light-emitting diodes (or "LEDs"), on the other hand, light up when current flows through them, which is much more fun. Unlike old-fashioned incandescent lightbulbs they do not limit the amount of current that passes through them, and so they must always be used in conjunction with a resistor so that they do not "burn out." The LEDs in your kit have two "legs" of different length; the shorter leg should always be wired closer to ground ("GND").
Resistors "resist" the flow of current and are used to limit the amount of current in a circuit. The amount of resistance of each resistor is measured in ohms (Ω) and is indicated by the difficult to read colored stripes on the resistor. Your kit only contains a single type of resistor, which happens to be exactly the right resistance for this purpose.
Assemble the following circuit and upload the program to your Arduino:

void setup()
{
    // Configure pin 2 as an output capable of powering an LED:
    pinMode(2, OUTPUT);
}

void loop()
{
    // Turn the LED on and wait:
    digitalWrite(2, HIGH);
    delay(500);

    // Turn the LED off and wait:
    digitalWrite(2, LOW);
    delay(500);
}
If your program has uploaded without any errors you should see the LED blinking on and off once per second.
If your LED is not blinking, you may have it connected backward. Verify that the longer leg is connected to pin 2 and the shorter leg is connected to ground ("GND").
In the above example we used pinMode() to configure pin 2 as an output capable of powering an LED:

void setup()
{
    // Configure pin 2 as an output capable of powering an LED:
    pinMode(2, OUTPUT);
}
We then used digitalWrite() to turn the LED connected to pin 2 on (using HIGH) and off (using LOW), like flipping a light switch.
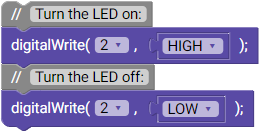
// Turn the LED on:
digitalWrite(2, HIGH);

// Turn the LED off:
digitalWrite(2, LOW);
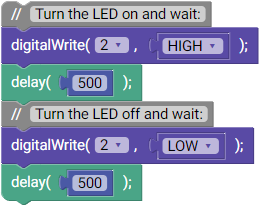
If we only used those two lines of code the LED would turn on and off so quickly that we wouldn't be able to see it blink. By adding a delay() after each change we are able to see it:

void loop()
{
    // Turn the LED on and wait:
    digitalWrite(2, HIGH);
    delay(500);

    // Turn the LED off and wait:
    digitalWrite(2, LOW);
    delay(500);
}
If you make the delay longer the LED will blink more slowly. If you make the delay shorter the LED will blink more quickly. Try doing both to see for yourself.
Now that you're starting to build your own circuits, here's a diagram showing which holes are connected on your breadboard:
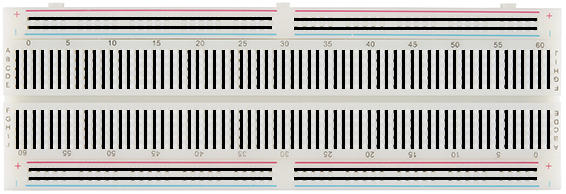
Any wires or parts plugged into connected holes will be electrically connected as if they were all a single wire. This is a very important thing to understand.
In the previous example we hooked up a single LED to our Arduino. But how do we hook up more?
The way to do this is simple: copy the wiring for a single LED as many times as you need, but use a different pin on the Arduino each time so that you can "talk" to each of the LEDs separately. In the previous example we used pin 2, but we could have used any of the pins between 2 and 12, all located on the same side of the Arduino.
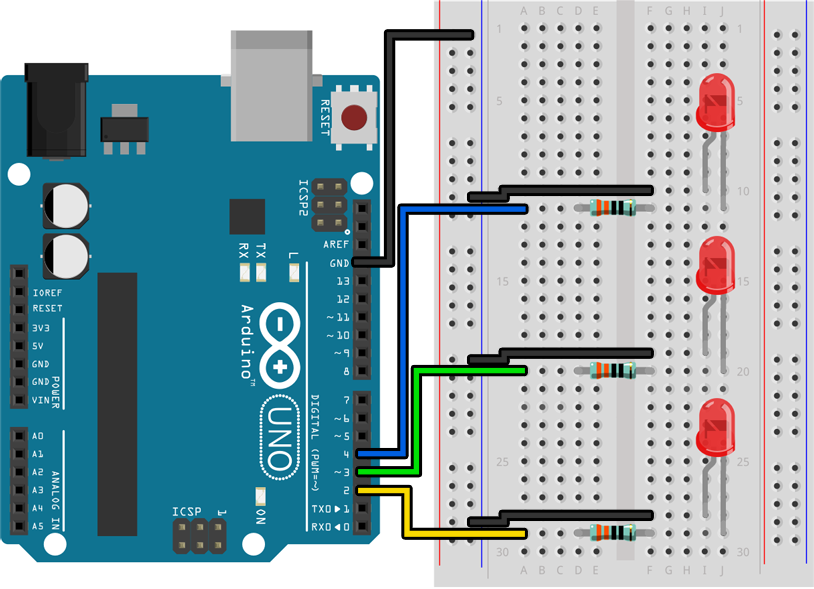
In this example we have hooked up three LEDs to pins 2, 3, and 4. Each LED is hooked up in the same way as before (pin → resistor → LED → GND) except that we have used three different pins so that the LEDs can be turned on and off independently. We have also used the holes on the edge of the breadboard to connect the LEDs back to GND without having to use all three GND connections on the Arduino, two of which are on the other side of the board and are hard to reach.
Before you use digitalWrite() with a new pin, make sure that you turn the pin into an output by including an additional pinMode() line in setup():

void setup()
{
    // Configure pins 2, 3, and 4 as outputs:
    pinMode(2, OUTPUT);
    pinMode(3, OUTPUT);
    pinMode(4, OUTPUT);
}
Create an interesting and meaningful animation using at least three LEDs, like a pair of opposing traffic signals or the lights from the car in Knight Rider.
We have lots of LEDs in different colors (red, green, yellow, blue, white) to help you build something creative!